 how-to
How Do You Manage an Interior Painting Project in 2026?
Last Updated: November 1, 2026
Quick Summary
Plan an interior painting project in phases: assess every surface, prepare and repair walls, prime, apply two coats, then clean up and walk through the finish. Work one room at a time, and build drying and cure time into the schedule before ordering materials.
- Walk every room first and list each surface, repair, and stain before buying anything.
- Estimate paint from the coverage rate on the can, adding about 10% for waste.
- Scope labor by prep, detail work, ceiling access, color changes, and occupied-home logistics.
- Hold a contingency of 10% for sound walls and 15% to 20% for older or damaged surfaces.
- Give finished walls at least 24 hours before the final acceptance walkthrough.
Table of Contents
- How Do You Plan an Interior Painting Project From Start to Finish?
- How Do You Build a Budget, Estimate, and Contingency for Painting?
- How to Prepare Walls for Painting Before Any Paint Goes On
- What Belongs in an Interior Painting Project Checklist?
- How Long Does an Interior Painting Timeline Really Take?
- How Do You Keep Painting on Schedule in an Occupied Home?
- What Should You Check at the Final Walkthrough and Book Your Estimate?
- Frequently Asked Questions
How Do You Plan an Interior Painting Project From Start to Finish?
The planning stage decides most outcomes in an interior painting project.
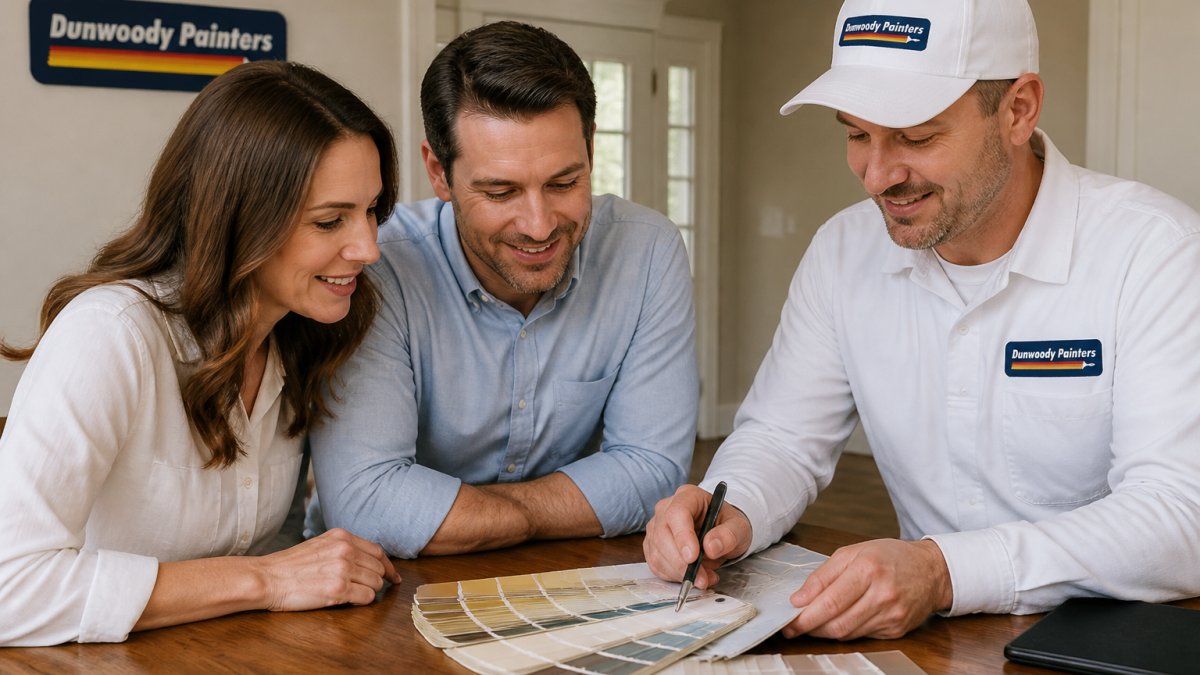
Start by walking every room and writing down what needs to happen. Note the walls, ceilings, trim, doors, and any cabinets.
Next, break the job into phases:
- Assessment: Walk the home and list every surface.
- Preparation: Repair, clean, sand, and protect.
- Priming: Seal stains and prepare bare or patched areas.
A room-by-room plan works best. Finish one room completely before starting the next.
Watch out: Scheduling only the painting days and ignoring drying time is the most common planning error.
How Do You Build a Budget, Estimate, and Contingency for Painting?
A painting budget has three layers: materials you can calculate, labor you can scope, and a reserve for what the walls hide. Build them in that order so the estimate is defensible line by line.
Estimate materials from coverage, not guesswork
Paint cans list a coverage rate, so check the label on the product you buy. Rough or textured walls, deep color changes, and porous bare drywall typically reduce that number.
A practical quantity method:
- Measure wall length × height per room and subtract large openings (doors, big windows).
- Multiply by the number of coats, usually two for a color change, sometimes three when going from a dark color to a light one.
- Divide by the can's stated coverage rate.
- Add a waste allowance of about 10% for touch-ups, roller loss, and future repairs. Keep the leftover labeled by room.
- Add primer separately for bare drywall, patched areas, and stain-blocking.
Trim, doors, and ceilings are usually estimated by linear feet or by count rather than square footage, and they consume far less paint than walls, but they consume far more labor time per square foot.
Separate the labor drivers from the material cost
Material is the predictable part. Labor is where estimates diverge, because prep and detail work dominate the hours. The biggest labor drivers are:
- Surface condition: patching, sanding, and stain-blocking can rival the painting time itself.
- Detail density: trim, crown molding, multiple doors, and windows add cutting-in time that walls don't.
- Ceiling height and access: vaulted ceilings and stairwells require ladders, scaffolding, or extension poles.
Ask for an estimate that lists each room and each surface separately, with prep called out as its own line. A single lump-sum number hides which driver is inflating the price.
Size the contingency to the risk, not a flat rule
The right contingency reserve depends on what the walls are likely to hide. Newer construction with sound drywall needs less reserve than older homes, wallpaper removal, or prior water staining, where hidden damage often appears only after prep begins.
Hold the contingency as a separate line in the budget so it doesn't get absorbed into upgrades. If it goes unused, it funds the touch-up kit and leftover paint storage.
How to Prepare Walls for Painting Before Any Paint Goes On
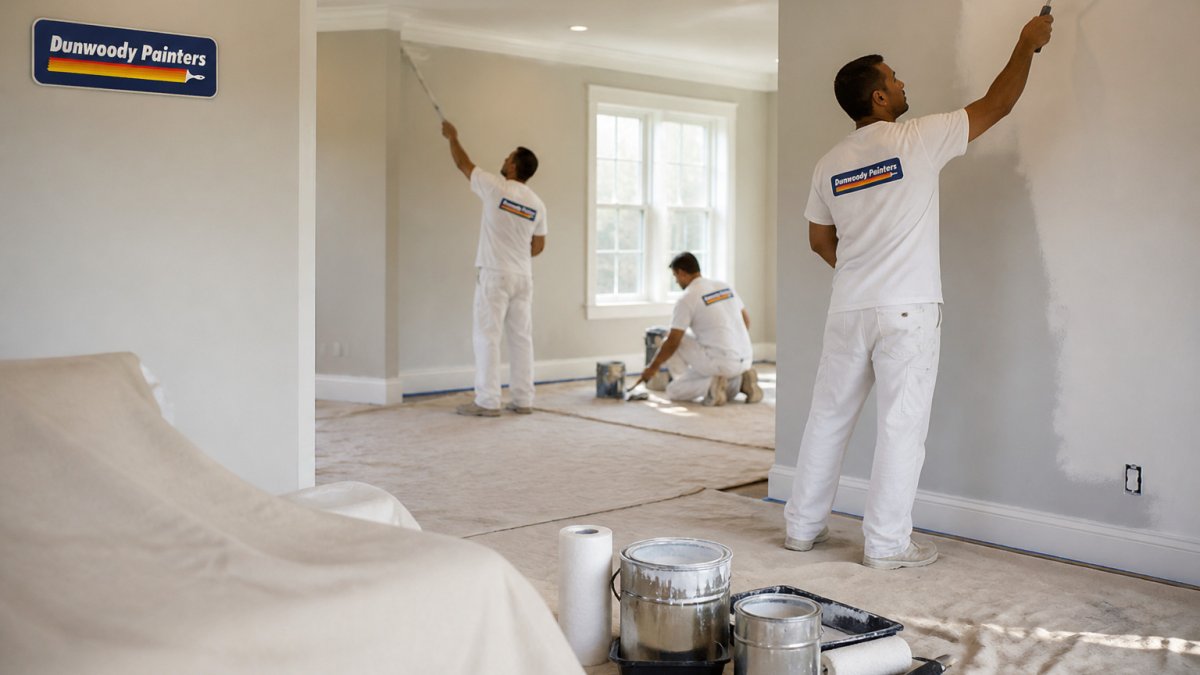
Preparation takes more effort than painting, and it matters more. Paint sticks best to clean, sound, and smooth surfaces. Skipping prep is why many finishes peel or show flaws within a year.
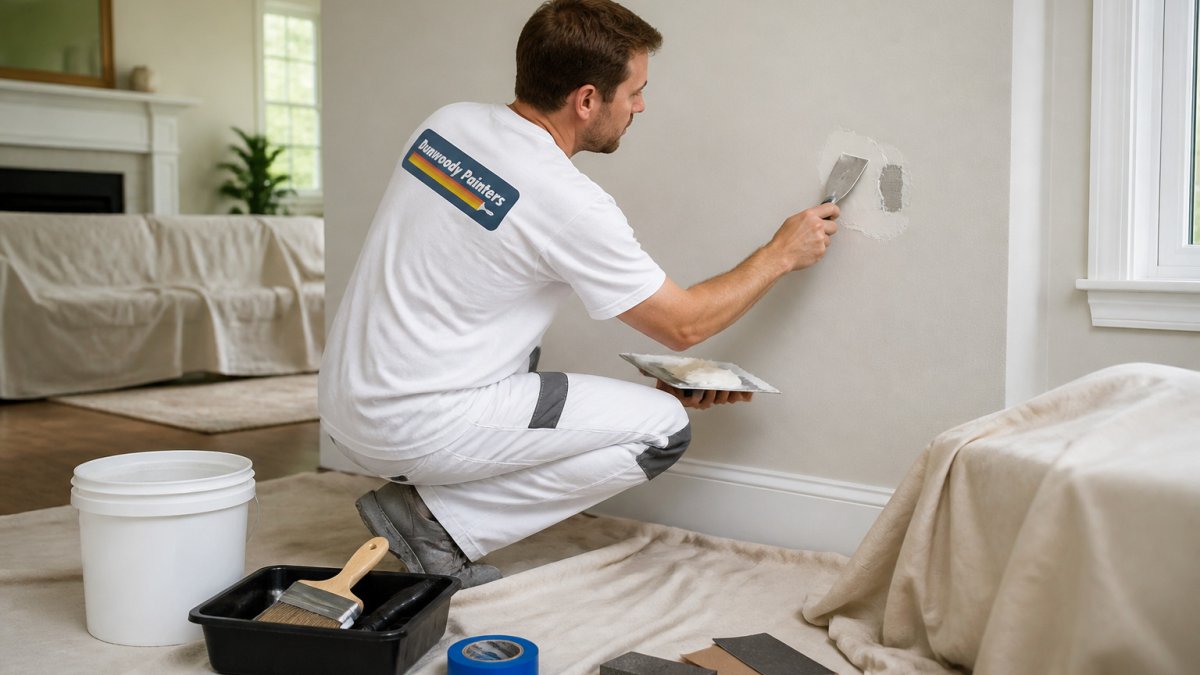
The basic steps are:
- Clean walls with a mild detergent to remove grease and dust.
- Patch holes and cracks with spackle, then let it dry fully.
- Sand patched areas and any glossy surfaces until smooth.
- Wipe away dust after sanding.
- Mask trim, outlets, and fixtures with painter's tape.
- Cover floors and furniture with drop cloths.
- Apply primer to bare drywall, patches, and stained areas.
Plan for the paint to need ventilation and dry time. Keep rooms well ventilated and avoid painting when humidity is high, since humid air slows drying and can cause problems.
What Belongs in an Interior Painting Project Checklist?
A written checklist prevents missed steps. Use this one as a starting point:
- Walk all rooms and note every surface to paint
- Confirm paint type, sheen, and color for each room
- Calculate quantity using the coverage listed on the can
Keep the checklist where everyone on the project can see it. A shared list keeps communication clear when several people are involved.
How Long Does an Interior Painting Timeline Really Take?
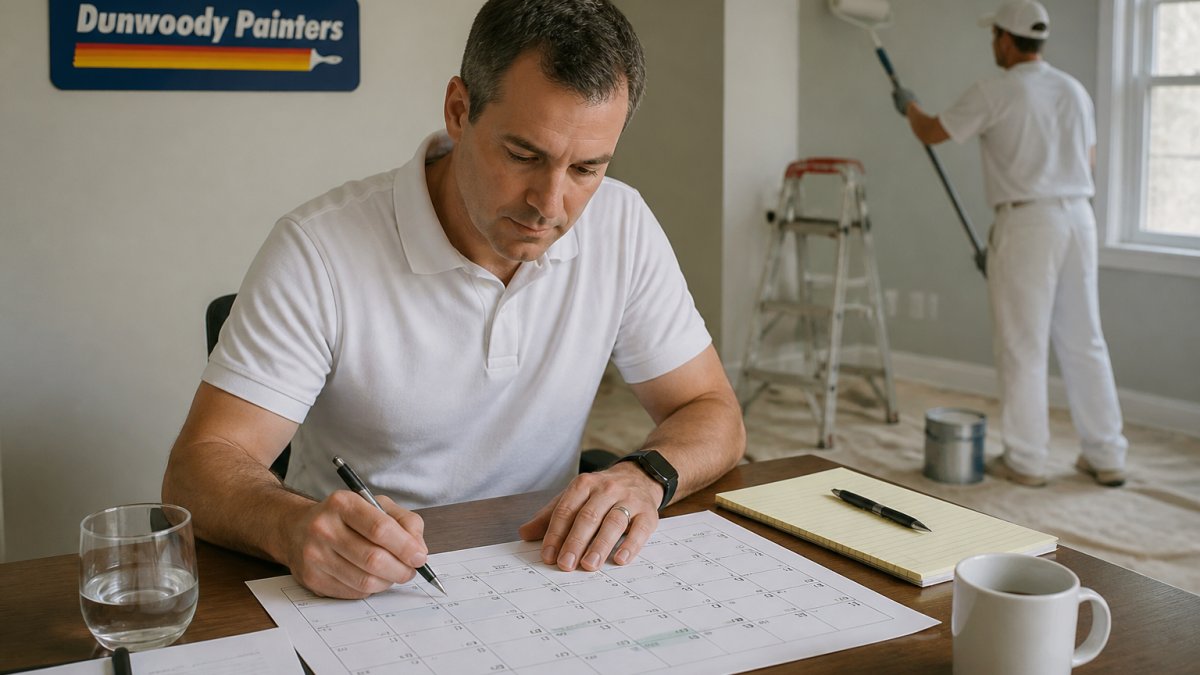
A single room typically takes one to two working days once prep is done, but the calendar for a whole-home project is driven by recoat windows, cure time, and access sequencing, not by how fast a roller moves. Plan the timeline around drying and curing first, then fit labor into the gaps.
Use these working windows as planning anchors (always confirm against the label on the specific product you buy, since formulations vary):
- Recoat window: most interior latex paints allow a second coat after about 2 to 4 hours at 70°F and 50% relative humidity. Cooler or more humid conditions stretch that window.
- Full cure: typical interior latex reaches a full cure in roughly 7 to 14 days. Avoid heavy cleaning, hanging heavy items, or pressing furniture against the wall during that window.
- Primer to topcoat: many primers can be topcoated in 1 to 2 hours, but patched areas need the spackle fully dry first, often 24 hours for deeper fills.
- Trim and doors: alkyd and waterborne trim enamels usually need longer recoat intervals than wall paint, and doors painted on both sides need blocking between coats so the surfaces don't stick.
Sequence the rooms, not just the days
A room-by-room plan beats a surface-by-surface plan in an occupied home. Finish one room completely, prep, prime, two coats, cure, cleanup, before opening the next. That keeps dust and fumes contained and gives you at least one livable room at all times.
A realistic multi-room sequence looks like this:
- Assessment and ordering (days 1-3): walk every room, confirm colors and sheens, calculate quantities, and order paint so it arrives before prep starts. Custom color mixes and out-of-stock sheens are the most common cause of day-one delays.
- Prep block (days 3-5): patch, sand, clean, and mask the first two rooms. Prep is front-loaded so painters never wait on drying spackle.
- Paint block (days 5-9): prime and apply two coats in the first rooms while prep continues in the next. Staggering prep and paint keeps the crew productive during recoat windows.
- Cure and punch block (days 9-12): inspect under raking light, touch up, remove tape while the paint is still slightly soft (pulling tape from cured paint can chip the edge), and clean up.
Build buffers for the things that actually slip
Most timelines miss for four reasons: hidden surface damage found after prep starts, paint ordered in the wrong sheen or quantity, humidity that stretches recoat windows, and touch-ups that reveal a coverage problem. Add one buffer day per three to four rooms, and keep a half-day at the end for the punch list.
The article breaks down the typical drying, curing and recoat windows that shape a painting timeline.
| Stage | Typical window | Note |
|---|---|---|
| Recoat window | About 2 to 4 hours | At 70°F and 50% humidity |
| Full cure | About 7 to 14 days | Avoid heavy cleaning or pressing furniture to the wall |
| Primer to topcoat | About 1 to 2 hours | Patched areas need spackle fully dry |
| Deep spackle fill | About 24 hours | Dry fully before priming |
| Single room | 1 to 2 working days | Once prep is done |
| Buffer days | One per 3 to 4 rooms | Plus a half-day for the punch list |
How Do You Keep Painting on Schedule in an Occupied Home?
Living in the home during painting adds complexity. Plan which rooms you will use at each stage and move furniture before the crew arrives.
Set clear expectations with everyone in the house. Let them know which areas are off limits and when fumes or wet paint will be present.
Coordinate with the painting team on daily start and stop times. Dunwoody Painters uses background-checked, in-house crews.
What Should You Check at the Final Walkthrough and Book Your Estimate?
Before accepting the finished work, walk every room with a critical eye. Look for uneven coverage, roller marks, drips on trim, and visible tape lines. Check ceilings and corners under good light.
Use this acceptance checklist:
- Even color and sheen on every wall
- Clean, crisp lines at trim, ceilings, and corners
- No drips, bubbles, or missed spots
- Doors, outlets, and fixtures returned to place
Dunwoody Painters offers a written 2-year workmanship warranty and a no payment until complete policy. If you are ready to plan your project, schedule a free estimate to receive a line-by-line quote for your home. You can also review our interior painting services to see what we cover room by room.
Frequently Asked Questions
How do you plan an interior painting project?
Start by walking each room and listing every wall, ceiling, trim piece, and door that needs paint. Measure the surfaces to estimate paint quantity, then choose colors and finishes before anyone buys supplies. Set the order of rooms so work moves from ceilings to walls to trim, and build in a buffer of a few extra days. Dunwoody Painters provides line-by-line estimates that break the scope down room by room, and pricing depends on the size of the project, the number of rooms, and the condition of the surfaces. Request a free estimate on the Dunwoody Painters website for current pricing.
What should be included in an interior painting project checklist?
A solid checklist covers scope (rooms, ceilings, trim, doors), materials (primer, paint, caulk, patching compound), tools (brushes, rollers, drop cloths, painter's tape), and protection (furniture moved or covered, floors protected). Add a surface-prep line for cleaning, patching, and sanding, plus a drying and recoat schedule. Include a final walkthrough item to check cut lines, coverage, and cleanup. Keep the checklist in a shared document so homeowners and crew leads see the same status.
How long does it take to paint the interior of a house?
Timing depends on square footage, how many rooms have ceilings and trim to paint, the amount of prep work, and drying time between coats. Most projects are scheduled in phases: prep and protection first, then ceilings, walls, and trim, with recoat times respected before the next step. Plan for the timeline to stretch if walls need significant repair or if environmental conditions slow drying.
What should homeowners move or cover before painters arrive?
Remove small items from walls and surfaces, clear countertops and shelves, and move furniture away from the walls where possible. Cover what cannot be moved with drop cloths or plastic sheeting, and empty closets along painted walls. Protect floors with drop cloths or runners, and disconnect or cover electronics near the work area. Keeping pets and children out of active rooms also reduces delays and accidental damage.
Planning an interior painting project well takes time, but it pays off in a finish that lasts. Dunwoody Painters brings over 15 years of local experience, background-checked crews, and clear communication to every job. Contact us for a free estimate and let us handle the details while you enjoy the results.